
Last updated November 15, 2026
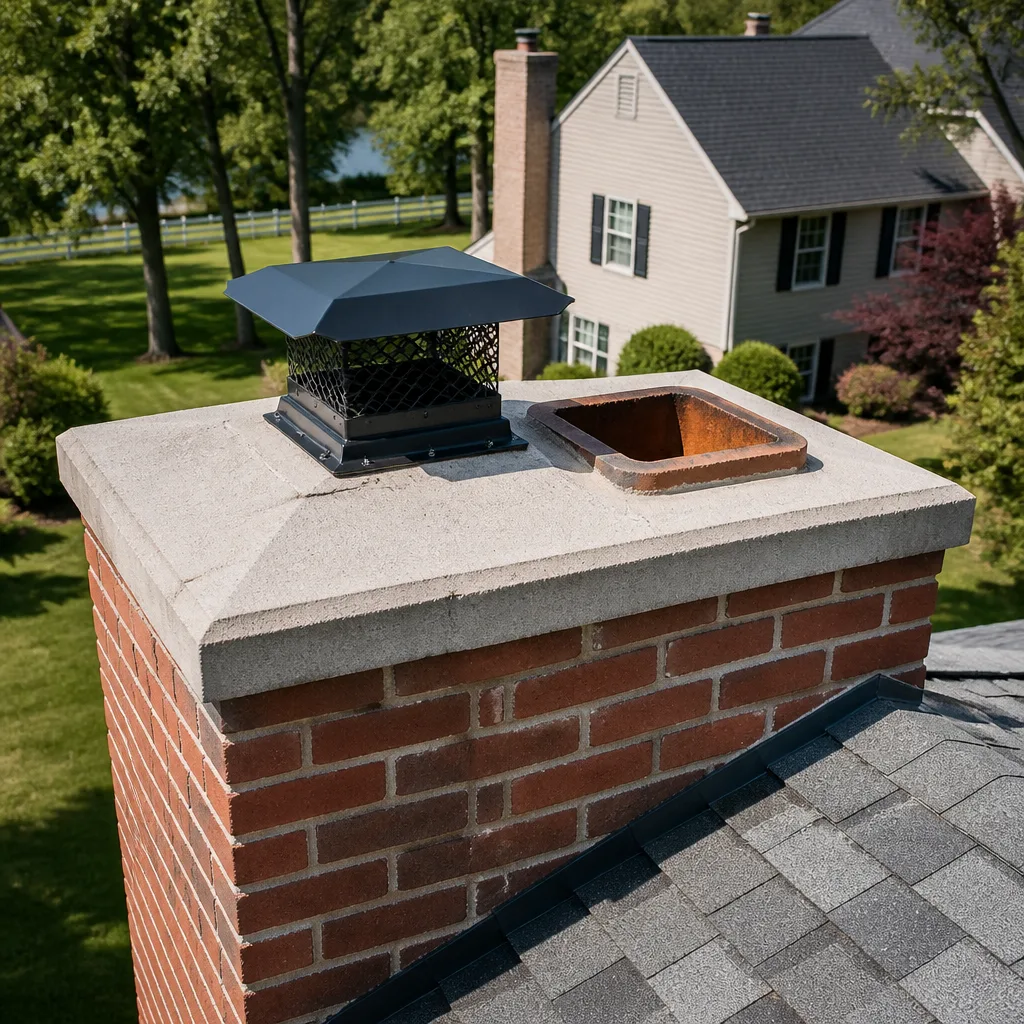 Sweep & inspection
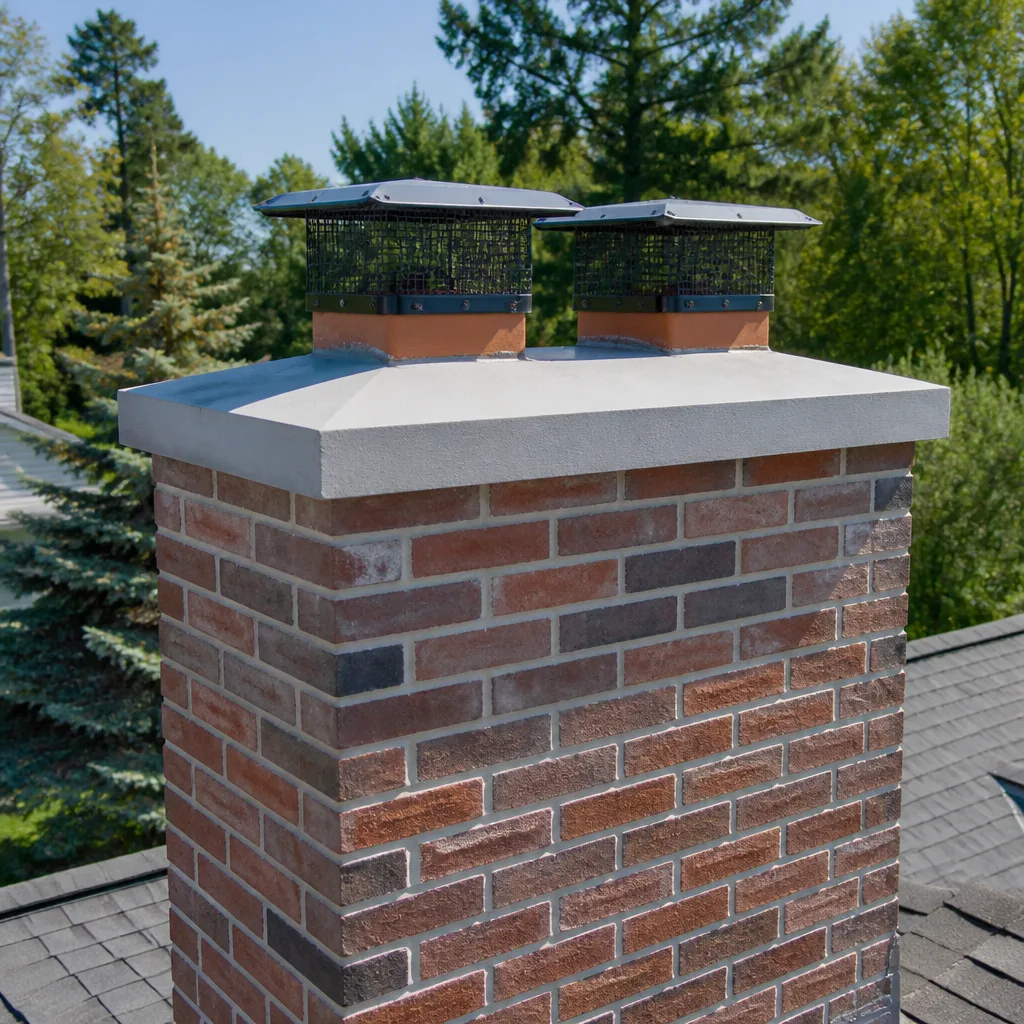 Caps & crowns
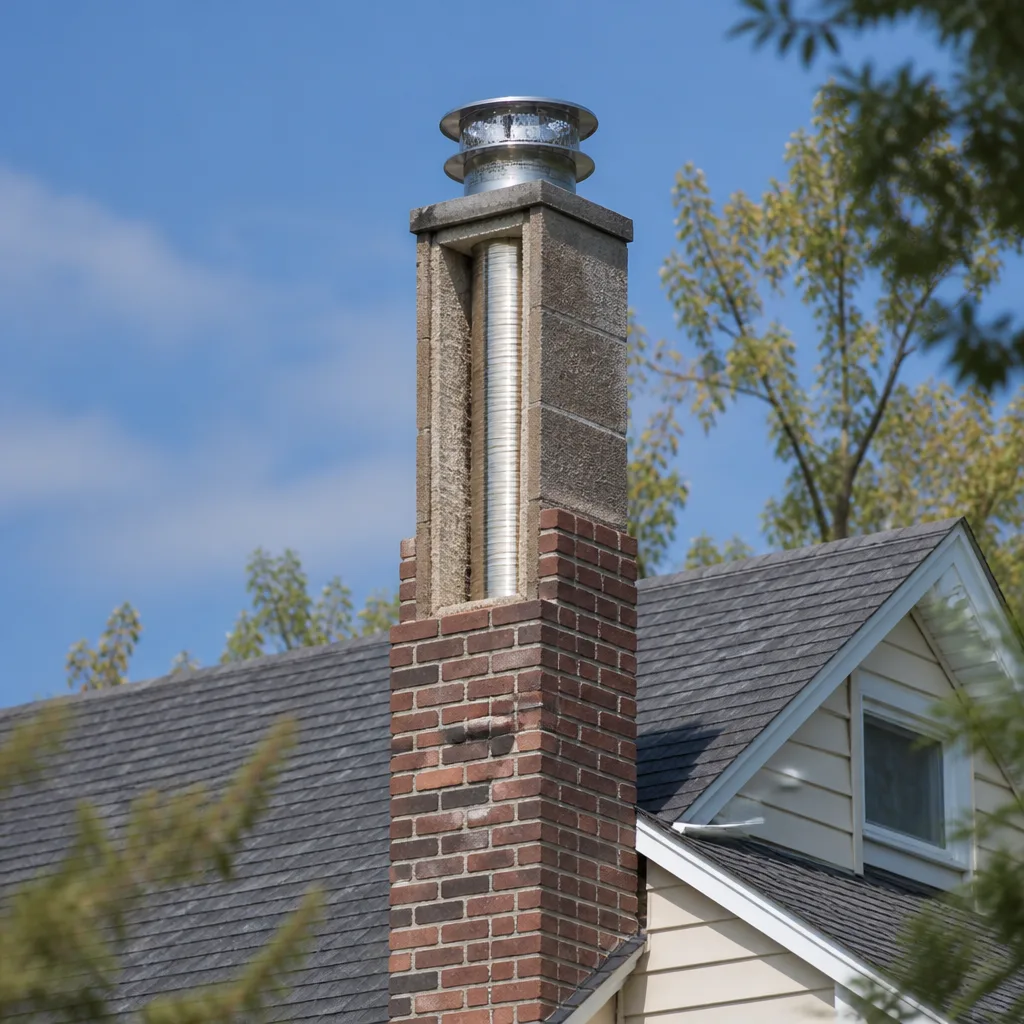 Flue relining
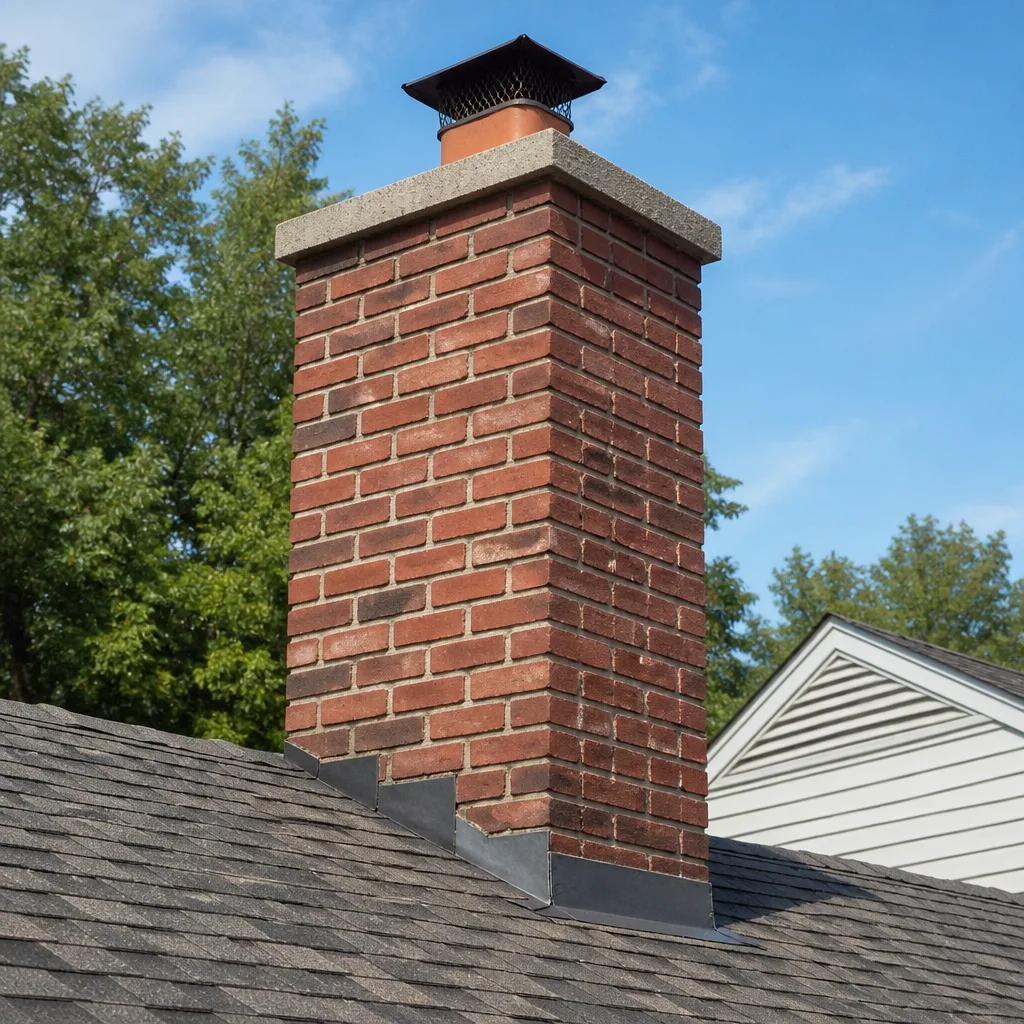 Masonry repair
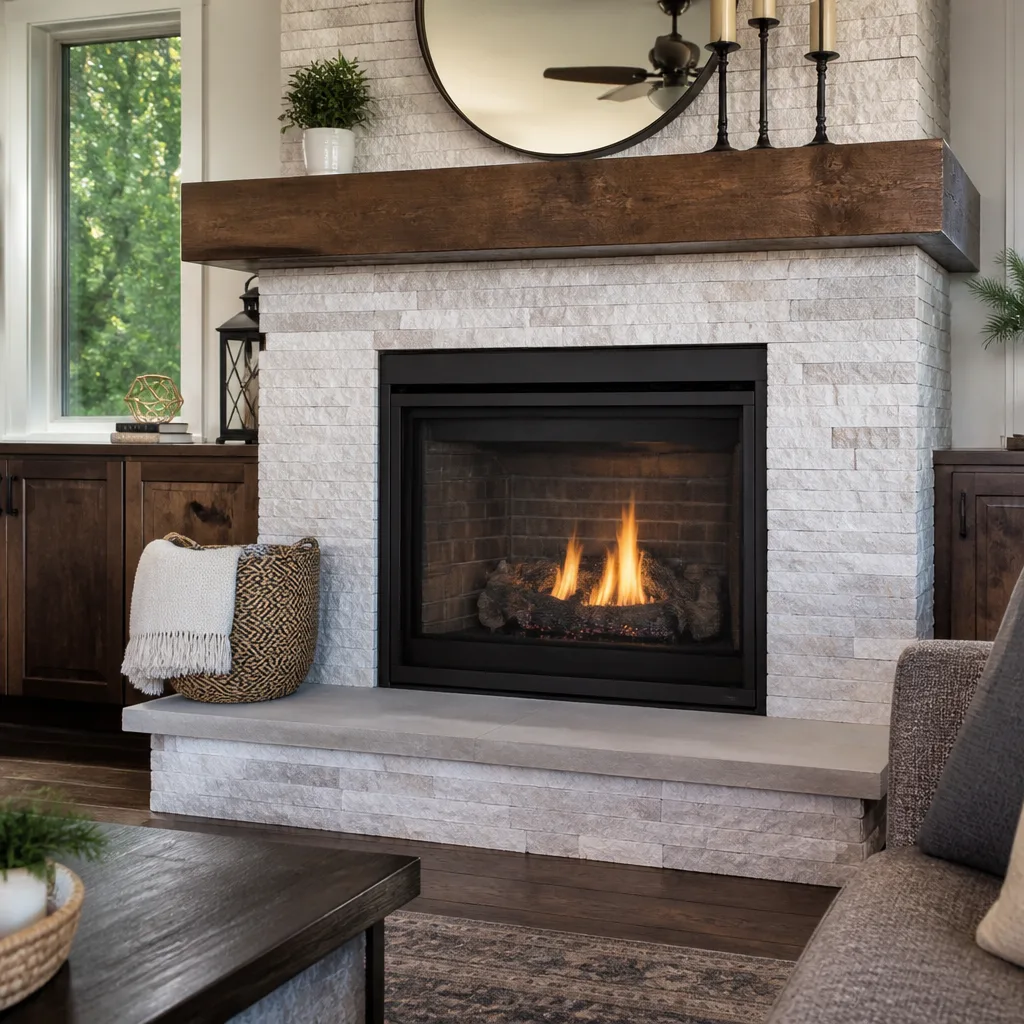 Gas fireplace service
Level 1 sweep and inspection to the NFPA 211 annual standard - flue, crown, cap, and flashing checked and photographed
Chimney sweep logs do not sweep chimneys. They loosen some creosote - which then falls where a brush and vacuum still have to collect it.
Chimney Sweep Maintenance Checklist for Lewisville Homeowners
This is the guide that treats your chimney as a sequence, not a to-do list. If your chimney maintenance checklist starts with “schedule a sweep,” it’s not a checklist – it’s a reminder. A real checklist tells you what to look at, in what order, and what a failing condition actually looks like at each stage.
The order matters because chimneys fail in a chain. A cracked crown lets water into the masonry, the masonry loses mortar, the liner loses its protective shell, and the flue starts drafting poorly. If you inspect the liner first, you’ll see symptoms without the cause. Work the system in the sequence a professional uses and the failures explain each other. Below is that sequence, written for the specific climate, housing stock and fuel habits here in Lewisville.
Quick Answer
A chimney maintenance checklist for Lewisville homeowners should be worked from the outside in: cap and crown first, then flashing and masonry, then the firebox interior, then liner signals, then the flue itself. Annual tasks are a sweep, a camera inspection, a cap and crown check and a damper check; biannual tasks apply to households burning more than a cord a year or running a gas insert year-round. Anything that involves the flue interior, the crown rebuild or gas components belongs with a trained professional.
Styles & brands we work with
- Sweep & inspection
- Caps & crowns
- Flue relining
- Masonry repair
- Gas fireplace service
Table of Contents
- Why the Inspection Sequence Matters More Than the List
- Step 1: Exterior Masonry and the Lewisville Sun and Rain Cycle
- Step 2: Cap, Crown and Flashing From the Ground
- Step 3: The Firebox Sequence – Smoke Shelf, Damper, Throat
- Step 4: Liner Integrity Signals Without a Camera
- Step 5: Annual vs. Biannual Tasks by Fuel and Usage
- Common Mistakes to Avoid
- When to Call a Professional
Why the Inspection Sequence Matters More Than the List
Most chimney checklists are a pile of tasks with no order. Homeowners read them, tick a few boxes, and never connect the findings. A diagnostic sequence works the other way: each step either clears a component or flags it, and a flag at one step tells you what to scrutinize at the next.
We work the system from the top of the structure down and from the outside in. The reason is gravity and water. Water is the single most destructive force on a masonry chimney, and it enters from the top – through a missing cap, a cracked crown, or failed flashing. So the crown and cap get checked before the masonry below them, because a finding up top explains what you’ll see down below. If the crown is cracked and the masonry joints are spalling two courses under it, that’s not two problems. That’s one problem with two symptoms.
The interior sequence follows the same logic. Combustion gases travel up and out, so the firebox and damper are checked before the liner and the flue. A damper that won’t seal, a smoke shelf packed with debris, a throat with a broken parging – each of these affects draft behavior that looks like a liner problem from the ground.
This is why a sweep without an inspection misses things. Brushing the flue clears creosote, but it doesn’t tell you the crown is failing, the flashing is lifting, or the smoke shelf is collecting debris that a fire will push back into the room. We connect the sweep and the inspection as one step by default because the sequence only works as a sequence.
- Outside before inside – water entry and structure first
- Top before bottom – crown and cap before masonry courses
- Firebox before flue – draft components before liner assessment
- Findings before recommendations – a replacement is only justified by a visible condition
Step 1: Exterior Masonry and the Lewisville Sun and Rain Cycle
Walk the exterior of the chimney from the ground and look at the mortar joints first, not the brick. Mortar is the softer material – it fails first, and the pattern of failure tells you what’s causing it. In Lewisville the stress comes from two directions: summer UV exposure that dries and shrinks the mortar surface, and rain that soaks into the same joints and then evaporates off in the heat. Each wet-dry turn pushes the joint a little further open.
The failure has a name and a look. Spalling is when the face of a brick flakes off in sheets or pops loose, leaving a rough patch underneath. If you run a hand along a joint and it crumbles into grit, the joint has lost its binder. If a brick sounds hollow when you tap it with a screwdriver handle, it has separated internally and will need replacement, not repointing.
On Lewisville homes, the sun-facing side of the chimney often shows the worst spalling because it takes the most UV and then gets hit by the afternoon storm cycle. Check all four faces anyway. The shaded side can hide efflorescence – the white powdery staining that means water is moving through the masonry and carrying salts to the surface. Efflorescence is water leaving; if you see it, water is getting in somewhere above it.
What to look for on the masonry
- Mortar joints raking out more than a quarter inch deep
- Bricks with faces flaking off or hollowing under the surface
- White staining (efflorescence) on the shaded faces
- Rust stains near the flashing line, which indicate water tracking behind the metal
- Biological growth on the crown or the top course, meaning moisture is staying put
Repointing and brick replacement are chimney repair work, not general masonry – the joints need to be matched and the repair has to remain breathable, or you’ll trap moisture and accelerate the damage you just fixed. That’s where the material matters. We work with supply brands like Copperfield for masonry repair because the mortar has to match the original mix, and we can do the repointing and the crown work in one visit rather than sending you to a separate mason. If you’re seeing spalling on more than a few bricks, an inspection is worth booking before the next wet season.
Step 2: Cap, Crown and Flashing From the Ground
You don’t need to climb the roof to assess the top of the chimney. A pair of binoculars and a position across the yard will show you what a roofer sees. Work through three parts in this order: cap, crown, flashing.
The cap
Look for a metal or masonry cap with a spark screen and side louvers. The cap should sit on legs or a collar, not directly on the flue top, so smoke and gases can escape freely. Check that the screen is intact – a missing or torn screen lets birds, squirrels and debris into the flue, and it lets sparks land on the roof. If the cap is rusted through or the mesh is missing in patches, it’s time for a replacement. A generalist handyman may improvise a cover; a cap should be sized to the flue and vented correctly, which is why we work with makers like Olympia Chimney for caps and top-sealing dampers.
The crown
The crown is the sloped concrete surface on top of the masonry. It has one job: shed water away from the flue. A crown that’s cracked, crumbled at the edge, or sloped wrong is the single most common source of water in a chimney. Look for a visible crack running through the crown, a hairline crack near the flue collar, or a chunk missing at the overhang. If the crown looks flat or has a bowl shape instead of sloping away from the flue, water is pooling on it and finding its way inside.
The flashing
Flashing is the metal where the chimney meets the roof. From the ground, look for the metal edges lifting, tar smeared over seams instead of properly stepped flashing, or rust bleeding down the roof shingles. Tar patches are a repair that tends to last a season, not a decade; if you see them, the flashing was never properly replaced and water has likely been tracking behind it. Rust streaks on the chimney’s roof-facing side point to the same thing.
All three of these show up from the ground. None of them require you to be on the roof. If any of them fail, that’s a repair visit – the crown can be rebuilt, the cap replaced, the flashing stepped properly, and the job done as one piece rather than three separate contractor calls.
Step 3: The Firebox Sequence – Smoke Shelf, Damper, Throat
Before you light the first fire of the season, work the firebox in this order. Skip the order and you’ll misread what’s happening. A smoky fire isn’t always a flue problem; it’s often a damper or smoke shelf problem that looks like one.
Smoke shelf
Shine a light up into the firebox and look at the flat ledge behind the damper. That’s the smoke shelf, and its job is to catch the smoke that rolls backward and redirect it up the flue. It’s also where soot, ash and debris collect. If the shelf is packed, smoke can’t turn the corner and gets pushed back into the room. Clear it during a sweep – it’s one of the reasons a top-down brush alone isn’t enough.
Damper plate
Open and close the damper by hand or with the lever. The plate should move freely and sit flush against the frame when closed. A damper that’s rusted open, warped, or stuck at an angle either lets heated room air escape up the flue or fails to seal when the fireplace is not in use. Both cost you on the energy bill and both change draft behavior. If the plate wobbles or the frame is bowed, the damper may need replacement – and a top-sealing damper from a maker like Olympia Chimney can be a better solution on a chimney that already has a cap.
Throat
The throat is the opening above the damper. Look at the parging – the smoothed refractory coating on the masonry faces of the throat. Cracks, missing patches, or white powdery spalling on the throat mean the firebox parging is breaking down. The throat is also where you check that the firebox dimensions are working with the flue: if the opening is large and the flue is small, the fireplace will smoke regardless of how clean the flue is. That’s a draft balance issue, not a cleaning issue, and diagnosing it requires a proper inspection.
Interior firebox check, in order
- Look up at the smoke shelf for debris and soot packing.
- Work the damper through its full travel by hand.
- Inspect the throat parging for cracks and missing coating.
- Check the firebox walls and floor for cracked firebrick or gaps in the mortar.
- Confirm the firebox opening works with the flue size before lighting a fire.
Step 4: Liner Integrity Signals Without a Camera
You can’t see the liner from the ground, and you shouldn’t try to inspect it yourself – the flue is the highest-risk part of the chimney to poke around in, and a fall of soot or a piece of failing liner is a real hazard. But the liner sends signals before a camera ever goes up. The signs show up in behavior and odor rather than in visible cracks.
Discoloration patterns
Look at the firebox bricks and the face of the damper. A liner that’s leaking combustion gases into the masonry shows up as discoloration on the surrounding surface – a brown or black staining that runs outside the normal soot line. On a clay-tile liner, this can happen when a tile joint has opened. On a stainless system, it can happen when a joint has separated. Either way, the pattern tells you where to look.
Odor timing
Creosote smells strongest on a hot, humid day, when the flue is warm and the air pressure drops. If the smell comes on suddenly and strongly during a warm stretch – and disappears when you cool the house – it’s a sign of creosote buildup. If the smell is there only when the fire is lit, and it smells sharp or acrid, it’s more likely a liner gap or a draft issue pulling gases back into the room. The timing tells you which.
Draft behavior
A fire that lights hard, smokes at the start, then settles down is usually a cold-flue issue. A fire that smokes continuously, especially when the damper is fully open, is a draft or liner problem. A fire that used to draft well and now doesn’t is the strongest signal of all – something has changed in the system, and the flue is the first place to look.
None of these are a substitute for a camera inspection, which is how a professional actually confirms liner condition. But they tell you when to book one. A DuraFlex flexible stainless liner system can address a failed clay tile without tearing out the masonry, which is the technical option most sweep-only services don’t offer. When the liner is a candidate for resurfacing rather than replacement, HeatShield ceramic flue resurfacing can extend the life of the existing liner and restore draft. Our technicians have up to 14 years of experience in liner diagnostics, and we can assess both options during a single inspection visit.
Step 5: Annual vs. Biannual Tasks by Fuel and Usage
Not every task happens once a year. The frequency depends on what you’re burning and how often. The baseline for a wood-burning fireplace is an annual sweep and inspection. A household that burns more than a cord of wood a year, or that runs a fire several times a week through the season, is on a biannual schedule for the sweep and the creosote assessment.
Annual tasks (every household)
- Full chimney sweep and debris removal
- Camera inspection of the flue and liner
- Cap, crown and flashing check
- Damper operation check
- Firebox and smoke shelf inspection
- Exterior masonry and mortar joint check
Biannual tasks (higher fuel use or gas inserts)
- Second sweep before the start of the season
- Second creosote assessment for wood-burning households over one cord a year
- Gas insert venting and component check – gas inserts run differently and can be used more often than a wood fireplace
- Second exterior check on sun-facing or wind-exposed masonry
Gas inserts are their own category. The venting runs cooler than a wood flue, which changes the failure mode – the concern shifts from creosote to vent condition and drafting. A gas insert that’s serviced once a year is fine if it runs lightly; if it’s a primary heat source through the winter, treat it as a biannual household. On a masonry chimney with a gas insert, the sweep is still warranted, and the chimney sweep is the visit where the venting gets checked as part of the same inspection.
Common Mistakes to Avoid
- Checking the liner before the crown. Two sentences early on, a homeowner sees a symptom and assumes a replacement is needed. The real cause is often a cracked crown letting water into the masonry. Fix the water source first, then reassess the liner.
- Assuming a top-down brush is a full sweep. A brush from the roof clears the flue, but it doesn’t touch the smoke shelf, the damper, or the firebox. The Lewisville households that get the most value from a visit are the ones where the sweep and the inspection are done as one step.
- Ignoring a hollow-sounding brick. Tapping a brick with a screwdriver handle is free, and a hollow sound means the brick has separated internally. Repointing over it without replacing the brick traps the failure and pushes it outward.
- Treating a tar patch on the flashing as a repair. A tar patch is a temporary cover. If you see tar on the flashing line, the metal was never stepped correctly and water is tracking behind it.
- Running a gas insert on a wood-flue schedule. Gas insert venting doesn’t build creosote the way wood does, but it has its own venting and drafting issues. A once-a-year inspection is the minimum; a heavily used insert needs more.
- Lighting the first fire without checking draft. A cold flue has a period of reversed draft before the heat builds. If the fire smokes for too long, stop and let a professional diagnose it instead of working the damper harder.
- Using a handyman for a masonry or liner repair. Chimney repairs use specific materials – breathable mortar, matched crown mix, flexible stainless systems like DuraFlex – and a generalist may not have them or spec them correctly. The fix that lasts is the fix with the right material.
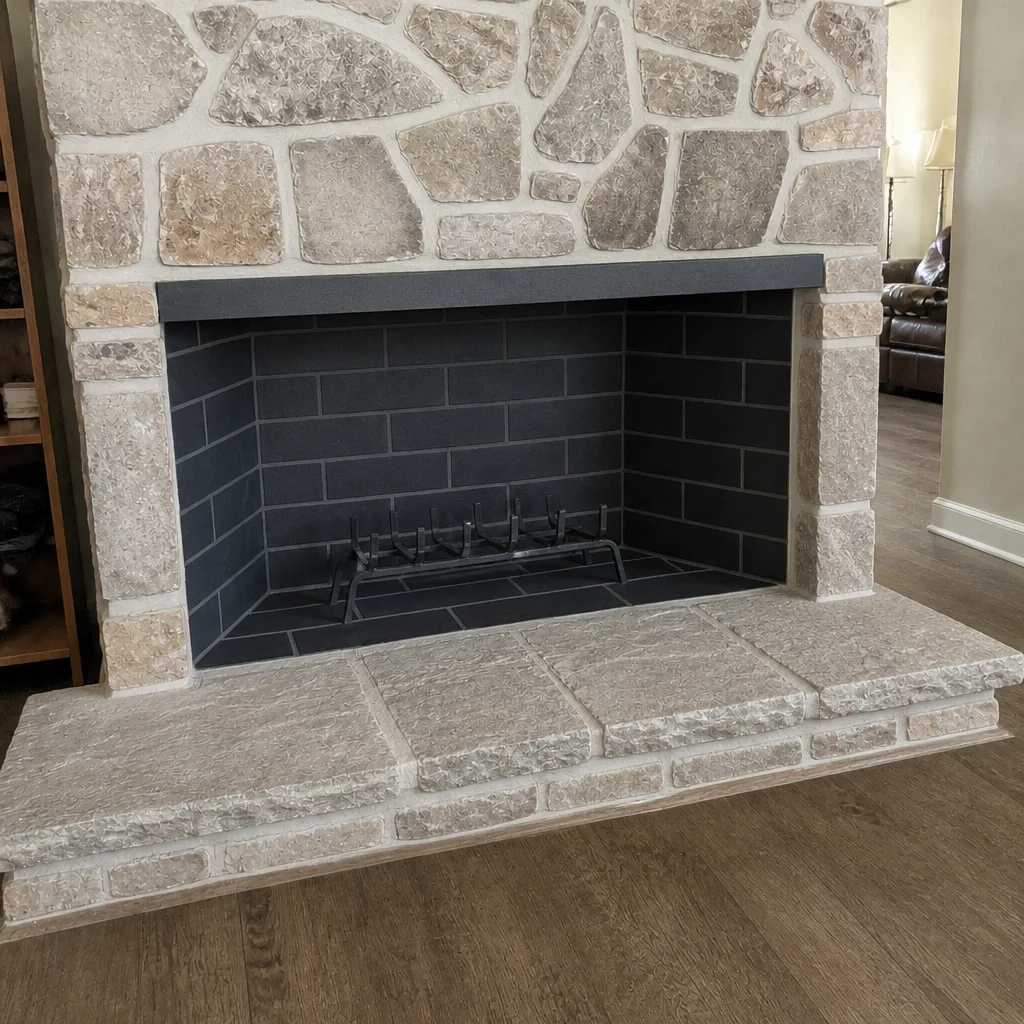
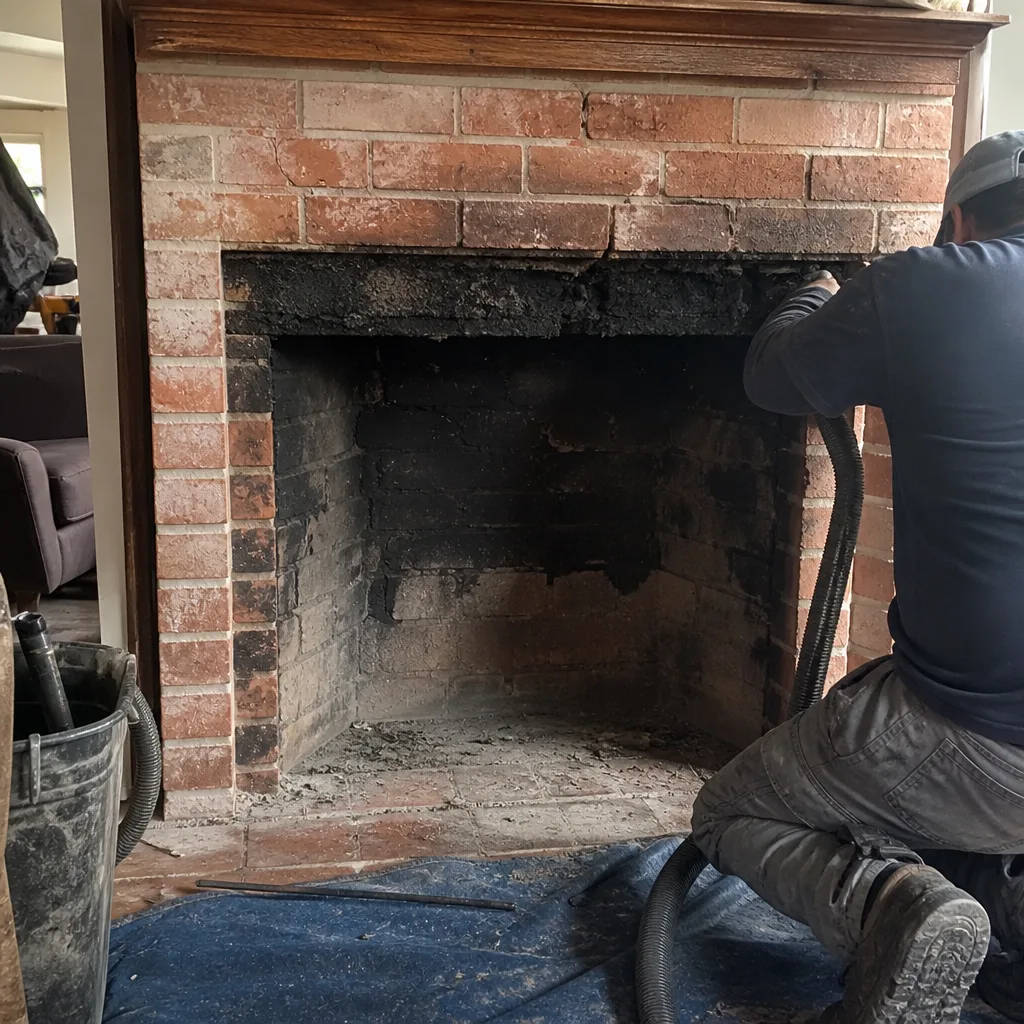
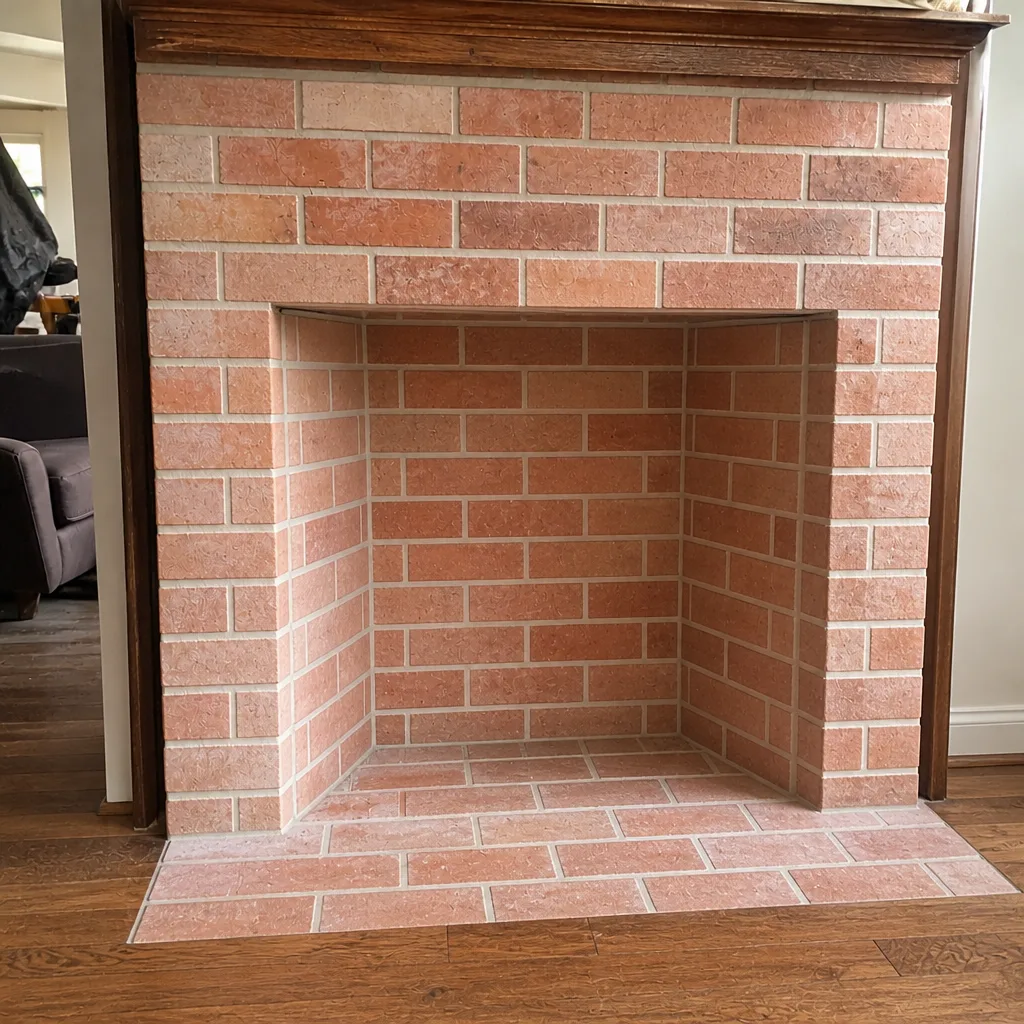
See the difference
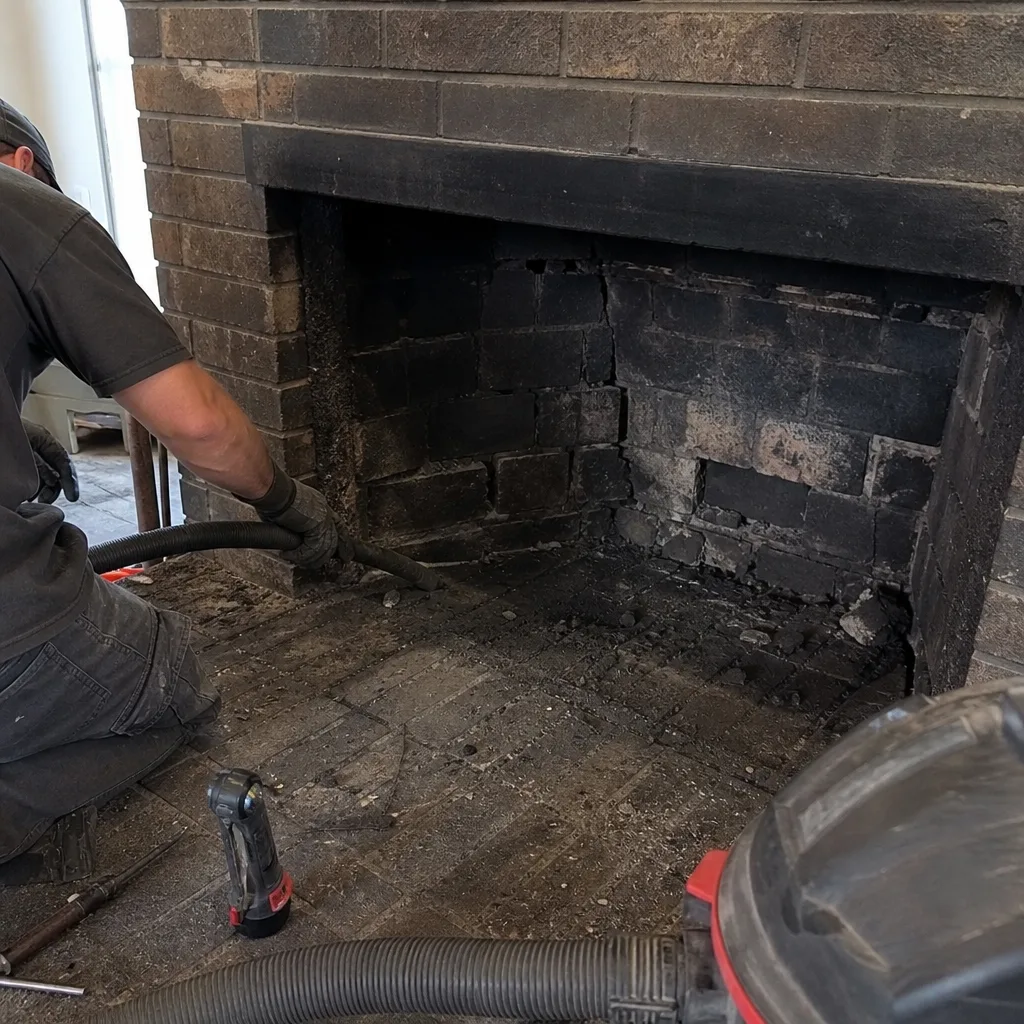 Before
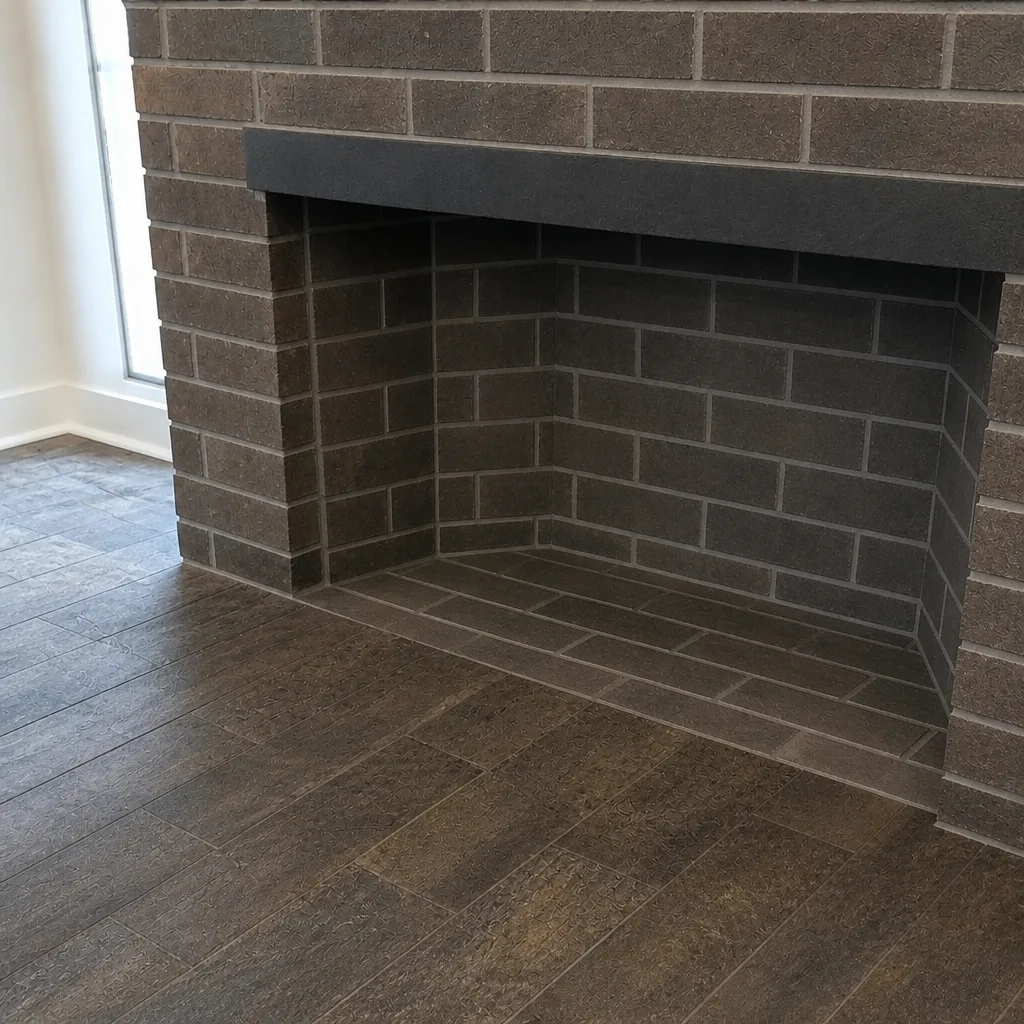 After
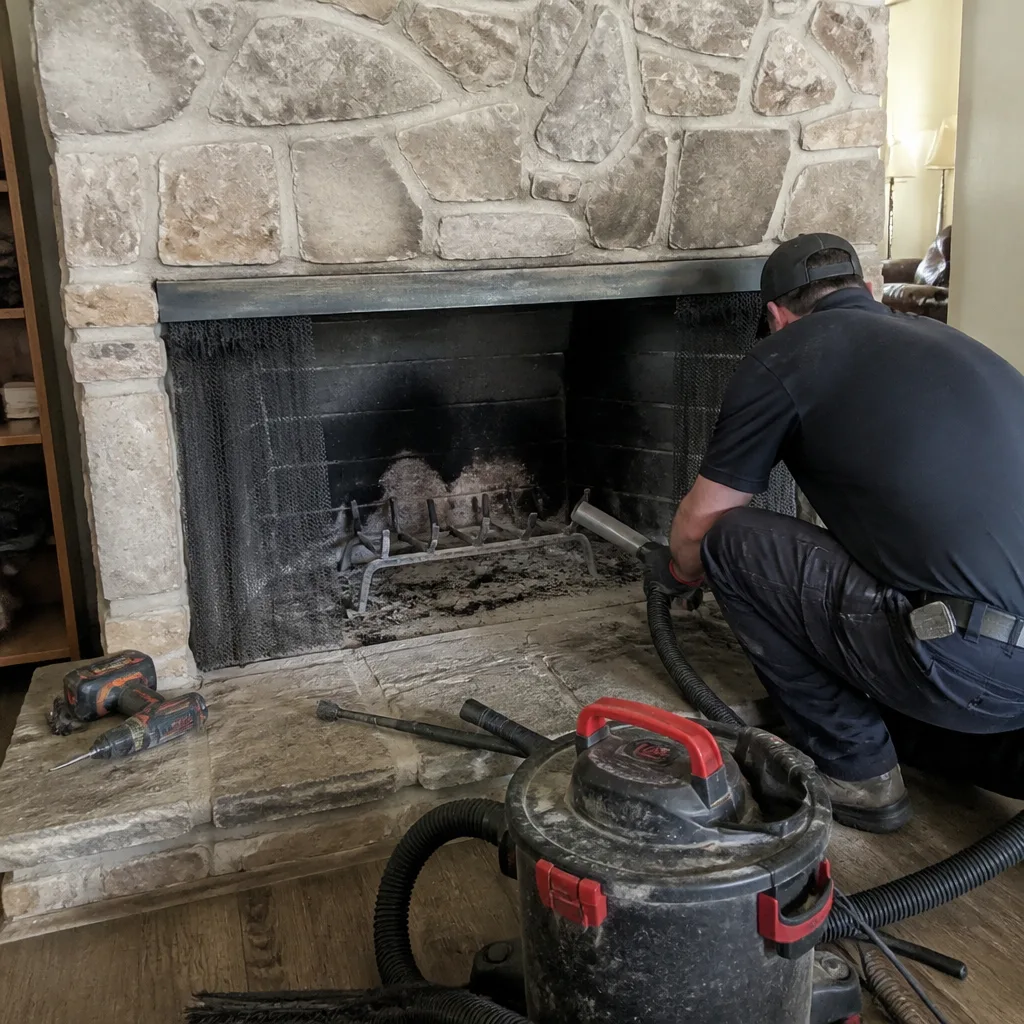 Before
 After
 Before
 After
When to Call a Professional
Some steps on this checklist are safe for any homeowner to do from the ground. The moment the work crosses into the flue interior, the crown rebuild, the flashing replacement, or any gas component, it belongs with a trained professional. The specific triggers are: any crack in the crown that reaches the flue, spalling on more than a few bricks, a flashing line with tar on it, a damper that won’t seal, a fire that won’t draft, an odor that shows up on warm days, or a firebox with cracked parging. A sweep-and-inspection visit catches all of these in one sequence and gives you a photo report of what was found.
We work with the same professional-grade materials chimney engineers specify – DuraFlex flexible stainless liners, HeatShield ceramic resurfacing, Olympia Chimney caps and top-sealing dampers, and Copperfield masonry products – so a recommendation is based on what’s actually appropriate, not what’s on hand. We offer free estimates in Lewisville. Call (888) 424-2086 to book an inspection. We answer 24/7. Fast dispatch from 7am to 7pm, Sunday through Friday.
Frequently Asked Questions
A wood-burning fireplace should be swept once a year, or twice a year if you burn more than a cord of wood or run fires several times a week. A gas insert needs an annual inspection at minimum, and more often if it’s a primary heat source. The sweep is the cleaning step; the inspection is the diagnostic step, and they should happen together. Call (888) 424-2086 to schedule and we’ll set the right frequency for your fuel and usage.
A sweep clears the flue, while an inspection assesses the cap, crown, flashing, masonry, firebox, damper, throat and liner – including a camera look inside the flue. A sweep without an inspection misses hidden deterioration. We offer inspections as a standalone service, so you don’t have to book a cleaning to get a professional assessment. Call (888) 424-2086 for a free estimate on an inspection.
Yes – cap, crown, flashing and exterior masonry can all be assessed from the ground with binoculars and a clear view. The flue interior, the firebox parging and the liner cannot be safely assessed without a professional, and the flue is the highest-risk part of the chimney to work in. The ground-level steps in this checklist are safe for any homeowner; the interior steps are not. Call (888) 424-2086 when you want the interior checked.
Spalling is usually caused by water and UV cycling together – rain soaking into mortar joints or brick faces, then heat drying them, with each cycle pushing the joint or brick face a little further open. The sun-facing side of the chimney often shows it worst. Efflorescence on the shaded side is a related signal that water is moving through the masonry. A masonry repair with matched mortar and a proper crown rebuild is the fix. Call (888) 424-2086 for an estimate.
Not necessarily. A fire that smokes can be caused by a cold flue, a packed smoke shelf, a damper that won’t open fully, or a firebox that’s oversized for the flue – none of which require a liner. A liner is only recommended when the inspection shows a concrete failure: a cracked tile, a separated joint, or a flue that’s undersized or damaged. Nothing is recommended without a photo of the condition. Call (888) 424-2086 to book an inspection.
The most common outcome of skipping a year is that a small condition gets worse – a hairline crown crack becomes a chunk missing, a hollow brick becomes a spalled section, a slow water leak becomes a liner problem. None of these are cosmetic; they all affect how the chimney drafts and how it handles water. A professional can tell you plainly which items can safely wait and which need attention before the next burning season. Call (888) 424-2086 for an inspection and an honest read on timing.
The Bottom Line
The value of a maintenance checklist is in the order, not the length. Work the sequence: cap and crown, then flashing, then exterior masonry, then firebox and damper, then liner signals, then the flue. Do the annual tasks every year and the biannual tasks if you burn more than a cord or run a gas insert hard. Keep the ground-level checks in the homeowner’s hands and put the interior, the crown, the flashing and any gas component with a professional. That’s the difference between a reminder and a real checklist – and it’s what keeps a Lewisville chimney working the way the system was designed.
If any section of this checklist turned up a condition you’re not sure about, that’s a good moment to book an inspection. We can work with your schedule, do the sweep and the inspection as one visit, and put the findings in a photo report you can see for yourself. Call (888) 424-2086 for a free estimate. We answer 24/7. Fast dispatch from 7am to 7pm, Sunday through Friday. And if you’re looking for the full range of services beyond the checklist, start with our Lewisville Chimney Sweep page, or read more about chimney repair and how it fits into your annual schedule. You can also see our full Lewisville service page for what a visit covers.
Written by the team at Lewisville Chimney Sweep.